Step #1: Apply Color Directly in Your File
Getting full-color 3D prints with Xometry is quick, and easy! We'll begin by taking a closer look at preparing a color file.
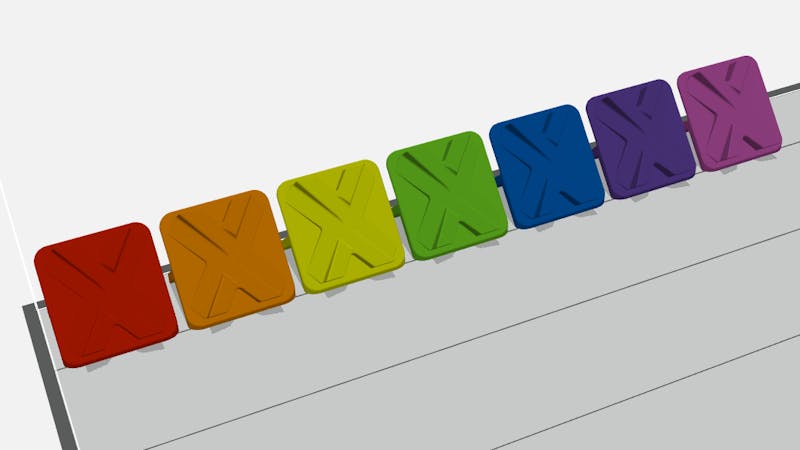
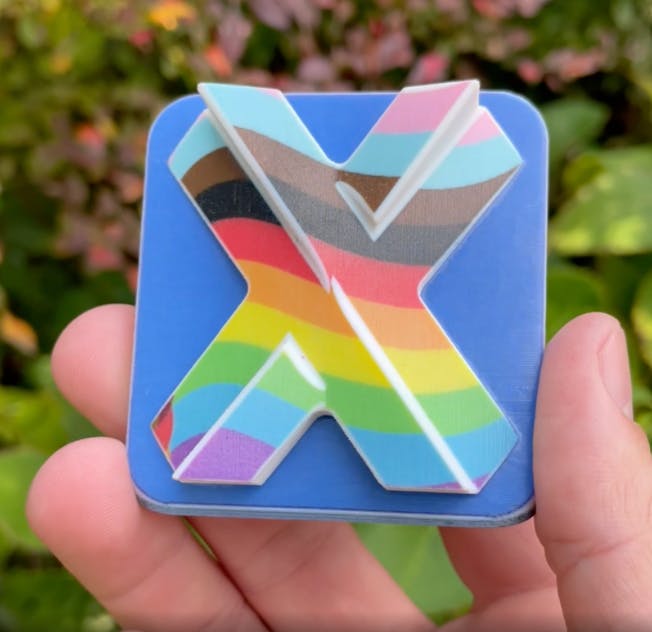
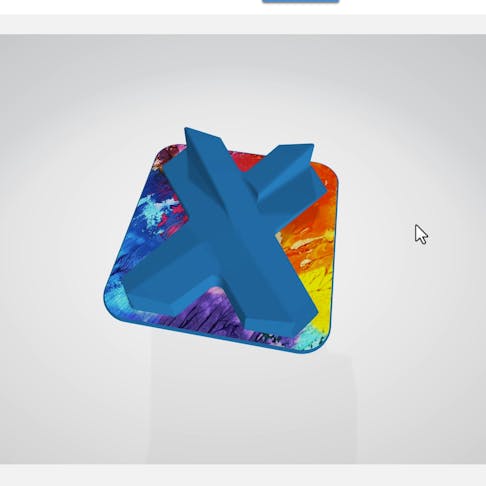
For full-color 3D printing, we recommend applying color directly to your model within your design software! You can apply a single custom color to the entire part if you'd like or you can apply multiple colors to specifically selected features or faces. Our PolyJet printing technology even allows us to print parts with photo-realistic textures!

Step #2: Export to 3MF Format
For full-color 3D printing, we recommend exporting your file in 3MF format. This will make quoting and printing your file a seamless experience. A good way to ensure colors and textures are correctly applied is to-preview-your file in Microsoft’s 3D Viewer, a program that comes pre-installed with Windows-10 and later.
Step #3:Upload Your File to the Xometry Instant Quoting Engine®
Once your files are ready to go, you can get a quote by uploading them to the Xometry Instant Quoting Engine®! After your files have been analyzed, click the configure part button to go to the part configuration screen. In the printing technology drop-down menu, select PolyJet.
If you would like us to print using the colors or textures from your model, select “Multi-Color, CAD Defined” under the material options. For a solid color print, select "Opaque Photopolymer, Rigid" and choose a color option from the menu. To specify a custom color, select "Other" and provide the color's hex number or RGB values.
Color values make it simple for our machine operators to assign the desired colors to your parts. A consideration to keep in mind is that colors are approximated and rendered to the machine's best ability, therefore perfect color matching cannot be guaranteed.
Step #4: Checkout and Order Your Full-Color 3D Printed Parts
Once you've finished configuring a part, click the "Save Properties" button. This will save your changes and return you to the quote summary screen. When you are ready to order, simply click the "Checkout" button to start the checkout process.


