Boring machining is one of many subtractive manufacturing processes that can be used to create finished parts. There are many types of boring including horizontal, vertical, and precision boring machining. This article will review boring machining, discuss its uses, describe its advantages and disadvantages, and review the different methods for implementing this manufacturing process.
What is Boring Machining?
Boring machining is a hole-making process that follows other types, like drilling, to enlarge holes to meet required dimensions and surface finishes. All different hole sizes can be made with high accuracy using the method. Boring machining isn’t new; in fact, it dates all the way back to the 18th century. In 1774, John Wilkinson invented the first precision barrel-boring machine (sometimes referred to as the “world’s first machine tool”) to make cylinder blocks for a steam engine developed by James Watt. In 1860, Francis A. Pratt invented another type of boring machine that had its motion controlled via a manual screw feed instead of a rack and pinion. The two World Wars led to many boring machining advancements, for instance, the invention of jig borers. As CNC machining became more commonplace in the 1970s, mechanically operated boring machines gave way to computer-controlled models.
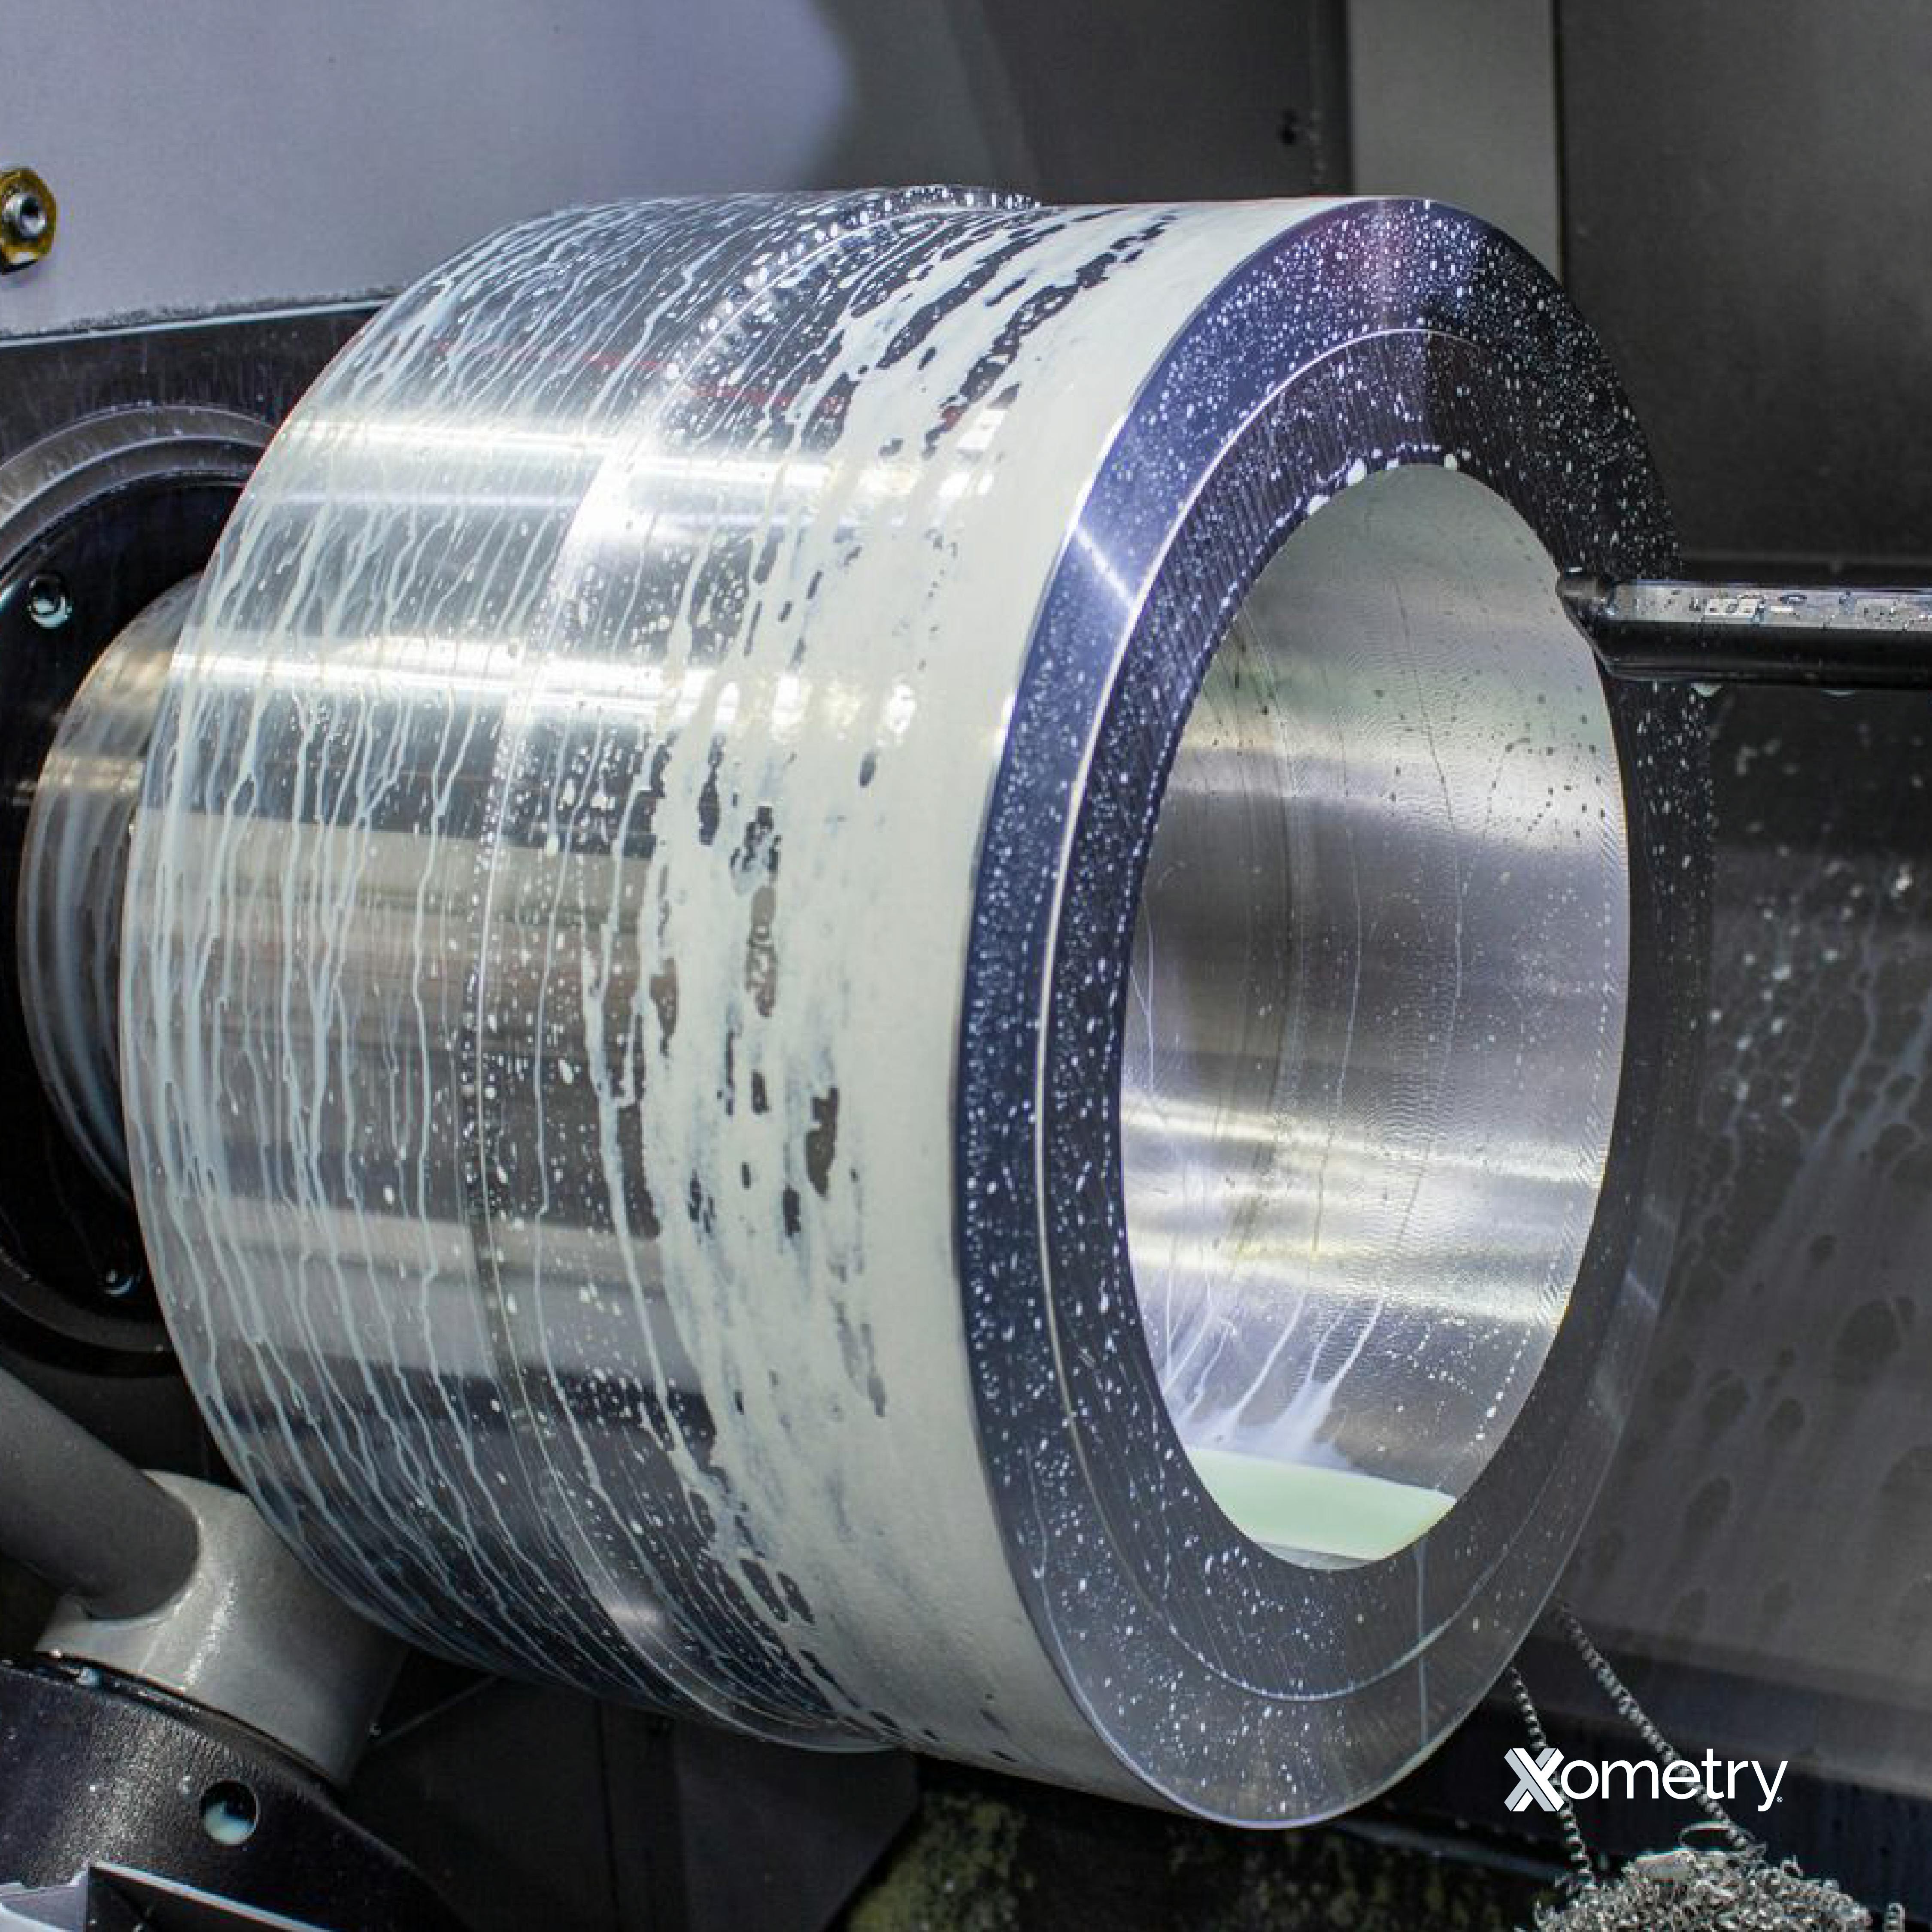
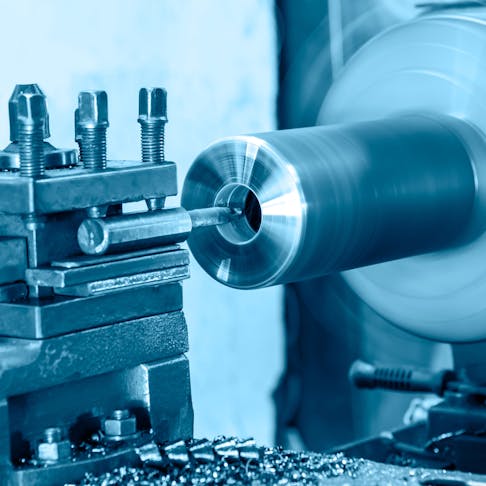
The process is typically done on a lathe using a cylindrical tool with a cutting insert called a boring bar. This is also why it’s sometimes incorrectly referred to as “internal turning.” It can also be performed on CNC milling machines with either a horizontal or vertical boring axis instead of lathes. Whichever option is chosen, a hole must already have been made in the part — usually by drilling or casting. With a lathe, boring machining works by placing the head of the boring bar into the drilled or cast hole. As the lathe rotates the workpiece, the cutting insert cuts into the edges of the hole, and the hole widens. With a mill, the workpiece is held stationary and the cutting tool rotates to enlarge the hole. In both cases, the hole is enlarged using a boring bar fitted onto a lathe or milling machine until you get the desired dimensions and surface finish.

Depending on how much larger the hole needs to end up, it may not be possible to complete the boring process in one pass. You might need to go over it several times, cutting progressively larger holes until you get the size you’re after. Boring is carried out at a moderate cutting speed, no more than 100 m/min, and a shallow cut depth. High cutting speeds lead to excess chatter and vibration and can adversely affect the hole quality, while low cutting speeds lead to inefficient cutting and can also affect hole quality. Additionally, high cut depths can increase stress on the tool and can result in poor quality.
Boring machining is used when a smaller hole drilled as part of a previous process step must be enlarged to meet the required dimensions and surface finish specifications. Additionally, boring machining is used to straighten holes, rectify casting defects, and make countersinks irrespective of the hole’s diameter. While boring machining is similar to reaming, it differs in that boring uses a single-point cutting tool and offers better positional accuracy and throughput efficiency. Boring machining is ideal for all types of production volumes or when more stock material is present in the hole.
Boring can create smooth surface finishes on the interior surface of a hole and is a highly accurate machining process since boring tools follow the centerline of the hole rather than following the overall position of the hole such as with drills and reamers. It can be done on several different machines and setups for horizontal and vertical boring. Also, the same boring tool can be used to obtain different hole sizes. It’s also super fast and cutting inserts can easily be replaced. Boring is not ideal for enlarging blind holes due to the geometry of the boring bar and how cutting inserts are assembled onto them. Boring blind holes leave a taper at the bottom of the hole. It’s also a process that needs the operator to have a little more technical expertise than drilling or reaming.
Types of Boring Machining
The three main types of boring machining are listed below:
- Horizontal: As the most common type, this is done on either a lathe or a horizontal milling machine. In horizontal boring, the boring bar moves parallel to the axis of the workpiece, and is used for boring holes in longer workpieces.
- Vertical: This is done on a vertical milling machine, CNC router, or drill press, and the process sees the boring bar moving perpendicularly to the floor. Vertical boring is best suited for heavy workpieces and for large holes, up to 24” in diameter.
- Precision: These machines are designed particularly for boring and are smaller than lathes or milling machines. Because of their small size, precision boring machines are best for boring small parts that require great surface finishes and extreme precision. For example, watch components are typically bored using a precision boring machine called a watchmaker’s lathe.
Required Tools
There are several tools needed in boring machining for the process to be successful. Those tools are listed and described below:
- Lathe/milling machine: The lathe or milling machine will guide the position of the boring tool.
- Boring bar: The boring bar allows the cutting insert to cut the walls of the hole. If using a mill, the workpiece is fixed while the boring bar rotates to cut the part.
- Cutting insert: The cutting insert is assembled onto the boring bar and cuts into the part to enlarge the hole.
How Xometry Can Help
For any help with boring machining, or jig boring services, please feel free to reach out to us. You can also get started today by uploading your designs to the Xometry Instant Quoting Engine®!
Copyright and Trademark Notices
- Summit® HB series is a trademark of Summit Machine Tools.
Disclaimer
The content appearing on this webpage is for informational purposes only. Xometry makes no representation or warranty of any kind, be it expressed or implied, as to the accuracy, completeness, or validity of the information. Any performance parameters, geometric tolerances, specific design features, quality and types of materials, or processes should not be inferred to represent what will be delivered by third-party suppliers or manufacturers through Xometry’s network. Buyers seeking quotes for parts are responsible for defining the specific requirements for those parts. Please refer to our terms and conditions for more information.


