What Is an Impact Test?
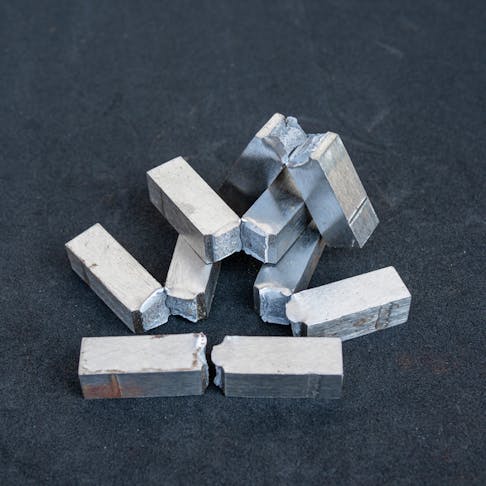
An impact test is a technique used to determine a material’s ability to resist deformation when subjected to a sudden shock or impulse load. There are several different types of impact tests, but all entail striking a prepared test specimen with a weight. Different materials testing standards, such as ASTM E23, ASTM A370, and ASTM D256 govern the exact testing procedure and test specimen requirements for each type of impact test, and for different material groups (e.g., metals vs. plastics). While an impact test can help characterize a material’s ability to withstand sudden loads, the impact test does not account for real-world loading applications or cyclical loads. Still, the test enables the easy comparison of impact strengths between materials, so long as the materials were tested with the same standard.
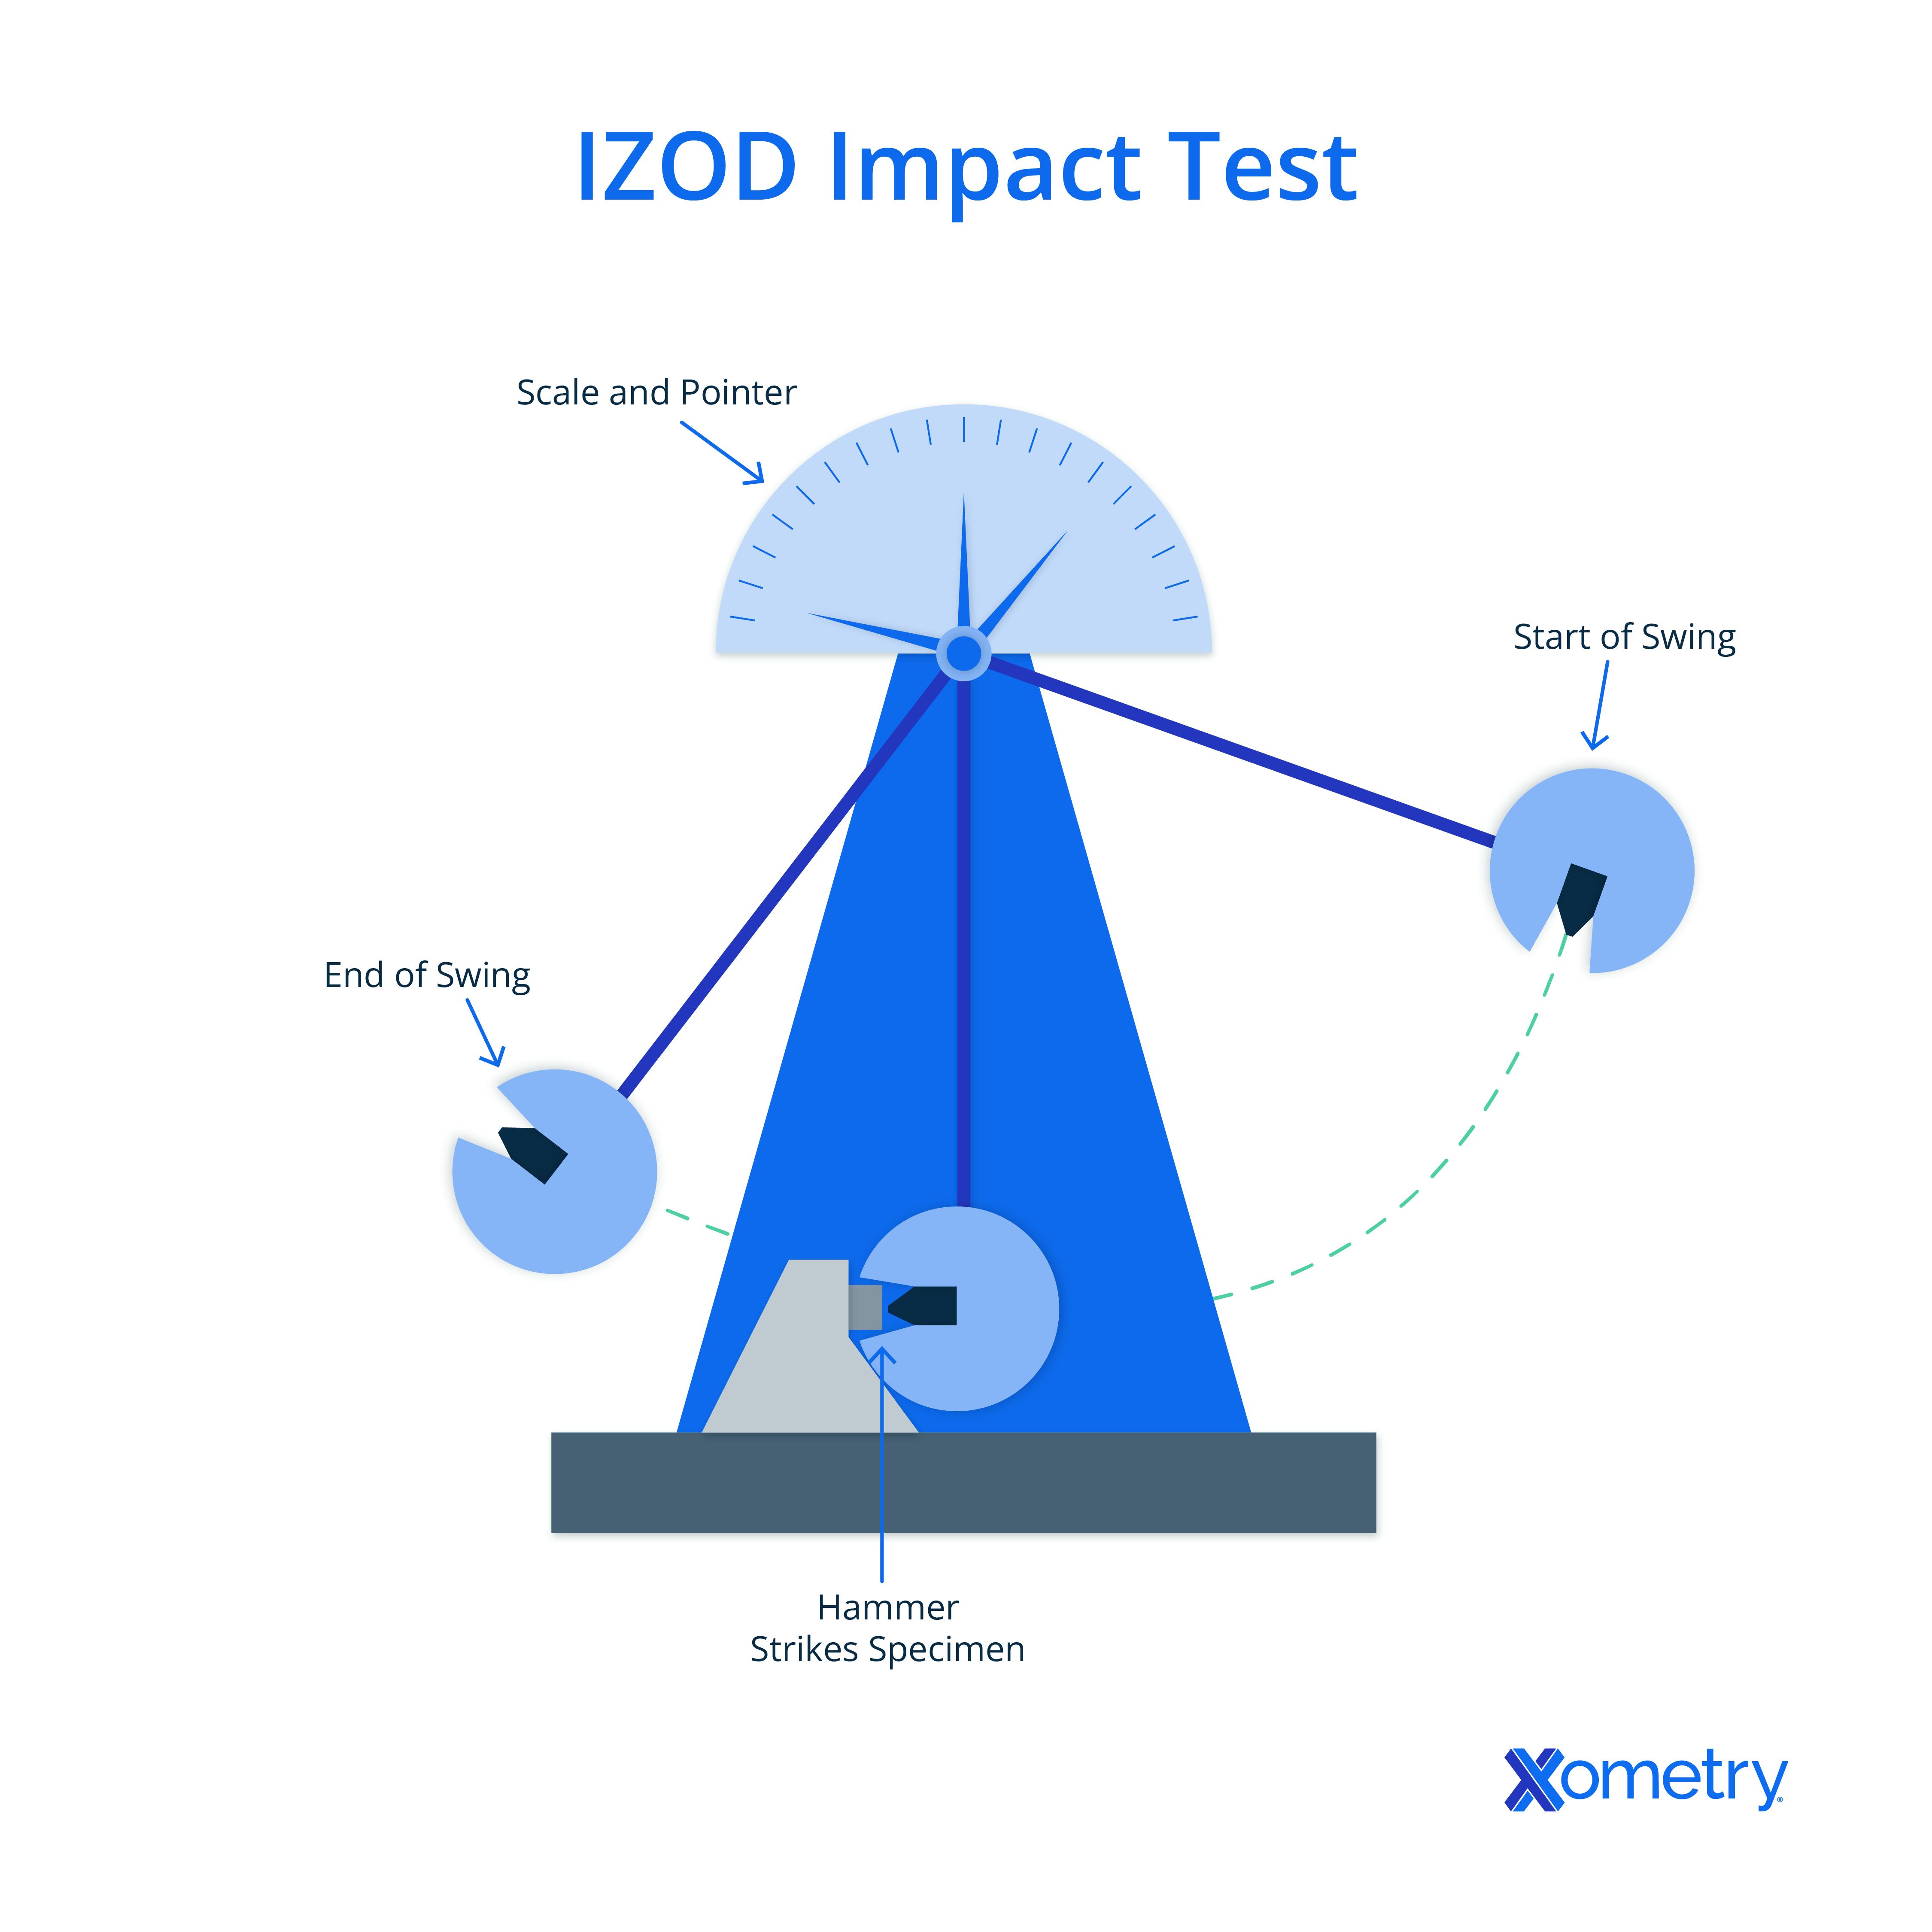
An impact test works by striking a properly prepared and fixtures test specimen with a weight, either from the side or from above. For Charpy and IZOD impact tests, a pendulum with a weighted hammer is released from a specific height. The arc of its motion strikes the vertically oriented test specimen on its side. For drop-weight impact tests and dynamic tear tests, a weight is guided by rails and dropped directly onto a test specimen from above. For each type of impact test, a notch is cut into the test specimen, forcing the fracture of the specimen to occur at a repeatable location.
Impact tests are performed so that engineers, manufacturers, scientists, and researchers can characterize how a material behaves when subjected to a sudden load. This allows engineers and designers to optimize product designs for particular applications. It also helps manufacturers to establish quality control standards for their products and enables scientists and researchers to characterize a material’s toughness. Each of the items described facilitates the creation of products and structures that are safer for the end user.
Different Types of Impact Testing
Four types of impact testing are described in detail below, encompassing the pendulum, drop-weight, and dynamic tear methods:
1. Charpy
The Charpy impact test, also known as the V-notch test, is a type of impact test where a weighted pendulum hammer is released from a specified height and strikes the part. A Charpy impact testing apparatus, a device with a pendulum with various locking points at specified heights and a fixture to hold the test specimen, is used to determine Charpy impact strength.
The standard test specimen is described in ASTM E23. It has a V-shaped notch cut into it. It is oriented so that it is simply supported on both ends horizontally and so the hammer strikes the face opposite the notched surface. The difference between the initial height of the pendulum and the height it reaches during the pendulum’s continued travel after striking the test specimen is used to calculate the energy absorbed by the material on impact. This is because it is assumed that all the potential energy before the pendulum is released is converted into kinetic energy when it strikes the specimen.
The Charpy impact test is most commonly used for ductile materials such as metals and thermoplastics. The test can be conducted at different temperatures and is often used to determine the ductile-to-brittle transition temperature of a material.
2. Izod
The Izod impact test is similar to the Charpy test in that a weighted pendulum hammer strikes a test specimen containing a V-shaped notch. An Izod impact testing apparatus — which is essentially identical to a Charpy impact testing machine — is used to determine Izod impact strength. The primary differences between the Izod and Charpy impact tests are the size of the test specimen, how it is restrained, and which side is struck by the pendulum hammer. The test specimen in the Izod test is fixed vertically on only one end, and the surface facing the notched surface is the surface struck by the hammer, in contrast to the Charpy test, for which the specimen is fixed at both ends and is struck on the side away from the notched surface. The test procedure for the Izod test is otherwise identical to the Charpy test. The test specimen is first prepared and mounted into the machine. Then, the pendulum is raised to a specified height and released to strike the upper tip of the specimen.
The Izod test, governed by ASTM D256, is most commonly used for thermoplastics. However, it can also be used for metals. Like the Charpy test, the Izod test is used to determine a material’s toughness and its ductile-to-brittle transition temperature.

3. Drop-Weight Impact Test
The drop-weight impact test, also known as the Pellini test, uses a weight suspended over a simply supported horizontal test specimen and then dropped to produce the impact. A tube or rails guide the weight during its “free-fall” onto the specimen. Unlike Charpy and Izod tests, the height of the weight before and after it strikes the test specimen cannot be used to determine the energy absorbed by the test specimen. Instead, results only pass or fail since energy absorbed by the test specimen cannot be adequately determined. Fracture is not the only criterion for failure, deformation or the formation of a crack can also be considered a failure. The test specimen in a drop-weight impact test is notched, and the weight is dropped on the surface opposite that of the notch. Like the other impact tests previously described, the drop-weight impact test is frequently used to test for a material’s ductile-to-brittle transition temperature.
4. Dynamic Tear Test
The dynamic tear test is similar to the drop-weight impact test. In the dynamic tear test, a notched test specimen is simply supported on both ends. A weight is dropped on the face opposite the notched side, and subjecting the test specimen to a bending impact load and 3-point bending. The primary difference between drop-weight impact testing and dynamic tear testing is that dynamic tear testing is often used for test specimens with a thickness less than 5/8” while drop-weight impact testing is for test specimens thicker than 5/8”.
Benefits of Impact Testing
- It's useful for determining a material’s toughness and ability to resist deformation due to impact loads, as well as for determining a material’s ductile-to-brittle transition temperature. These properties can help engineers and designers pick appropriate materials for a particular application and design more effective and safe products for the end user.
- It serves as a way for manufacturers to maintain control of their products’ quality. The manufacturing of some parts that require a specific level of toughness, such as ship hull components or pressure vessels, benefits greatly from impact testing. Impact testing helps ensure that these components are made to the required specifications and are safe for use.
- It guides the design and optimization of components and structures. To obtain reliable data to optimize designs, complete parts must be used. Drop-weight tests are the preferred test method when it comes to design optimization. With drop-weight impact test data, engineers can make appropriate adjustments to material properties and design geometries to enhance product performance.
- Many different industries have stringent requirements for the materials that are used in their products. For instance, the automotive industry uses standards like ISO 8256 and ASTM D3763, as well as company internal standards, as criteria to establish impact strength requirements. Impact testing helps manufacturers maintain compliance with these standards and requirements.
Challenges of Impact Testing
- It is limited in its ability to characterize a material’s behavior in its actual service environment. Impact testing cannot account for real-world impacts that may vary in speed, impact force, angle of impact, chemical exposure, corrosion effects, and more. Therefore, impact testing should be used in conjunction with other material testing procedures that are carefully designed simulations of the real-world application to obtain a more comprehensive understanding of a material’s properties and behavior.
- Interpreting results from an impact test can be difficult since determining a material’s response to impact can be complex. For instance, results can be difficult to interpret for impact tests on brittle materials like ceramics and some composites. Expertise and an understanding of how a material behaves in dynamic conditions are essential to obtaining reliable impact test results.
- Results are highly sensitive to deviations from the established testing parameters. All impact test trials must be conducted in a consistent manner to obtain reliable impact testing data. Small changes in initial drop height, test specimen preparation, and test specimen orientation can drastically impact testing results. Test machine features like locking pins at fixed heights that allow tests to be conducted from the same height, specimens produced by CNC machining, and jigs and fixtures that help to orient the specimen the same way each time are all ways to ensure impact tests are conducted with the same parameters each time.
Controlling Standards for Impact Testing
Some of the controlling standards establishing reliable impact testing methods are listed below:
- ASTM E23 / ISO 148-1: These standards govern impact testing for metals.
- ASTM D256 / ISO 180: These standards govern impact testing for plastics.
- ASTM A370 / ASTM E208: This standard governs impact testing for steel materials.
Xometry provides a wide range of manufacturing capabilities including CNC machining, 3D printing, injection molding, laser cutting, and sheet metal fabrication. Get your instant quote today.
Disclaimer
The content appearing on this webpage is for informational purposes only. Xometry makes no representation or warranty of any kind, be it expressed or implied, as to the accuracy, completeness, or validity of the information. Any performance parameters, geometric tolerances, specific design features, quality and types of materials, or processes should not be inferred to represent what will be delivered by third-party suppliers or manufacturers through Xometry’s network. Buyers seeking quotes for parts are responsible for defining the specific requirements for those parts. Please refer to our terms and conditions for more information.


